Saturday, September 18, 2010

Wedding Cake: Part Two - The Frosting


Holy cow, is this post way overdue.  But!  I have an excuse:  school and work has been kicking my butt.  Fortunately, I am now on a part-time work schedule, so juggling everything should be more manageable from now on. 

But enough about me.  On to the frosting! 

As I mentioned before, I made a white chocolate cream cheese frosting, as the groom is a big fan of white chocolate.  When making the frosting, it is very important that all of the ingredients are at room temperature.  If the cream cheese and butter are too cold, the white chocolate will harden into chunks.  If the white chocolate is too warm, it will melt the cream cheese and butter.

Instead of making a separate batch of frosting for the strawberry filling, I simply mixed some strawberry puree into some reserved white chocolate frosting.  It ended up being very tasty.


I chose to use white chocolate chips in the frosting, figuring that the same oils (which are used instead of cocoa butter) that help the chips retain their shape when baked would give the frosting added stability.  I'm not sure if success of the frosting could be attributed to the chocolate chips, as I haven't tried making the frosting with real white chocolate, but as written, this frosting holds up amazingly well.  I wouldn't recommend chilling the frosting in the fridge, as it will become way too hard to spread and could possibly curdle if you try to beat it afterwards.

I love this frosting because it's very creamy and not too sweet.  The cream cheese flavor is very mellow and allows the vanilla notes of the white chocolate to shine. 


White Chocolate Cream Cheese Frosting

28 ounces (3 1/2 blocks) cream cheese, softened
26 tablespoons (3 sticks + 2 tablespoons) butter, softened
24 ounces white chocolate chips
4 cups powdered sugar

Melt the white chocolate chips, using either a double-boiler or a microwave.  If using the microwave method, stir the chocolate well after each 15-second interval.  Let cool to room temperature.

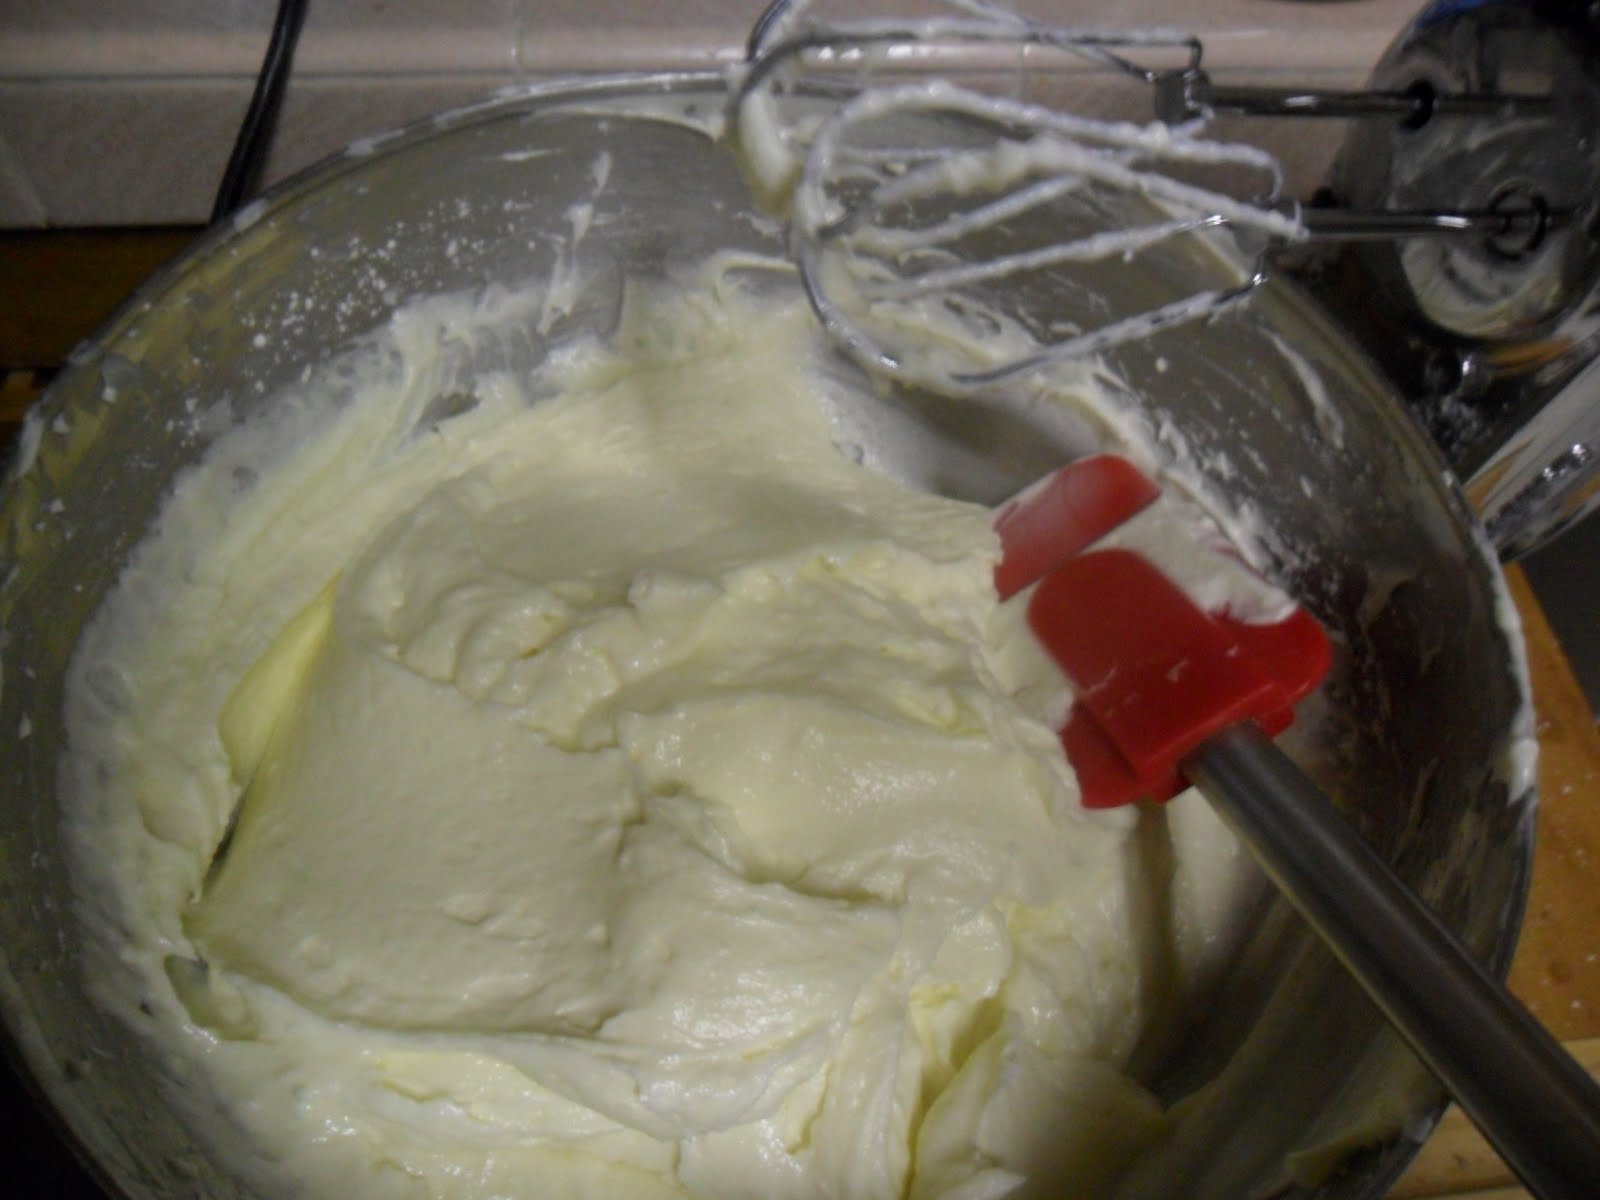
Beat the cream cheese and butter until well-combined and fluffy.  Add the white chocolate and beat until thoroughly combined.  Add the powdered sugar one cup at a time, mixing well after each addition.  Set aside two cups of the frosting for the strawberry filling.

Strawberry White Chocolate Frosting

2 cups white chocolate cream cheese frosting
1/4 cup strawberry puree

Mix the puree into the frosting until thoroughly combined.

Monday, September 6, 2010

Wedding Cake: Part One - The Cake


Well, friends, I did it.  I made a wedding cake.  Granted, it was small, but it was a wedding cake nonetheless.  And let me tell you, I did a LOT of research, even making a practice tier the week before.

The bride and groom sent me a picture of a six-inch cake perched on top of an 8-inch cake, swathed in white buttercream that had been swirled and swooped.  They told me that they wanted the cake to be in those dimensions, but covered in white chocolate shavings.  The bride told me that she likes chocolate and raspberry and that the groom likes white chocolate and strawberry.  I decided to make a chocolate cake with white chocolate cream cheese frosting.  In between the cake layers, I spread a thin layer raspberry preserves and a thick layer of strawberry white chocolate buttercream.  Then, I coated the whole thing in almost a pound of Callebaut white chocolate shavings.


It turned out great.  I was surprised at how smoothly everything went, though I think that most of it could be attributed to the cake recipe I chose.  During my two weeks of research, I read Smitten Kitchen's blog posts about her experience making a wedding cake, and she highly recommended a Chocolate Butter Cake recipe from the Sky High cookbook.  When I did my trial run, I tightly wrapped the cakes and left them in the fridge for two days.  Then I covered it in frosting and served it to my husband and friend, and we were delighted to find that the cake hadn't dried out a bit.  Then, the cake sat on the table for 5 days, at the end of which the cake was still insanely moist, dense, and fudgy.  Furthermore, the batter is insanely quick and easy to make.  Also!  In the middle of my cake-making marathon,  I ran out of wax paper with which to line the bottom of the pan, so I made sure to grease the pan well and prayed that the bottom wouldn't stick.  Unfortunately, a couple chunks of cake stayed stuck to the bottom of the pan when I turned the cake over.  However, I took the pieces of cake, stuck them back in their respective gaps, tightly wrapped the cakes and prayed that the chunks would miraculously glue itself back in the cake, and you know what?  It did!


Because I'm still pretty tired from a weekend of cake-making (and because I have quite a bit of homework to catch up on), I'm dividing my experience into three parts, the first of which is the cake recipe.

Chocolate Butter Cake
Adapted from Sky High: Irresistible Triple-Layer Cakes
Makes a 3-layer 8-inch round cake and a 3-layer 6-inch round cake

4 cups cake flour
4 cups sugar
2 cups unsweetened cocoa powder
4 teaspoons baking soda
1 teaspoon ground cinnamon
4 sticks (one pound) salted butter, room temperature
2 cups buttermilk
4 eggs
2 cups freshly-brewed coffee

Preheat oven to 350 degrees Farenheit.  Grease cake pans, line bottom with wax paper, and butter it.  Lightly coat with cocoa powder.

In large mixing bowl, combine flour, sugar, cocoa, baking soda, and cinnamon.  Blend on low for 30 seconds.  Add butter and buttermilk.  Blend on low until moistened.  Raise speed to medium and beat until light and fluffy, 2-3 minutes.  Make sure to mix way at the bottom of the bowl, to ensure that no bits of dry ingredients sneak away unmixed.

Whisk coffee and eggs together.  Add the coffee mixture to the batter in three additions, scraping down sides of bowls and beating only until blended after each addition.

Divide batter among pans: each 6-inch layer gets 2 cups and each 8-inch layer gets 3 1/2 cups.  Bake the 6-inch layers for 25-30 minutes and the 8-inch layers for 30-35 minutes, or until toothpick comes out clean.  Carefully turn them out on wire racks and let them cook completely.  Remove paper liners when cool.

If assembling cakes later, tightly wrap the cake layers in 2 (or 3) layers of cling wrap and store in the refrigerator.