Remember how in my last post, I mentioned that my sister-in-law asked me to make either an airplane or puppy cake for my nephew's first birthday? And remember how I cut up a 9x13 cake into the shape of a plane, leaving me with quite a bit of scraps and crumbs?
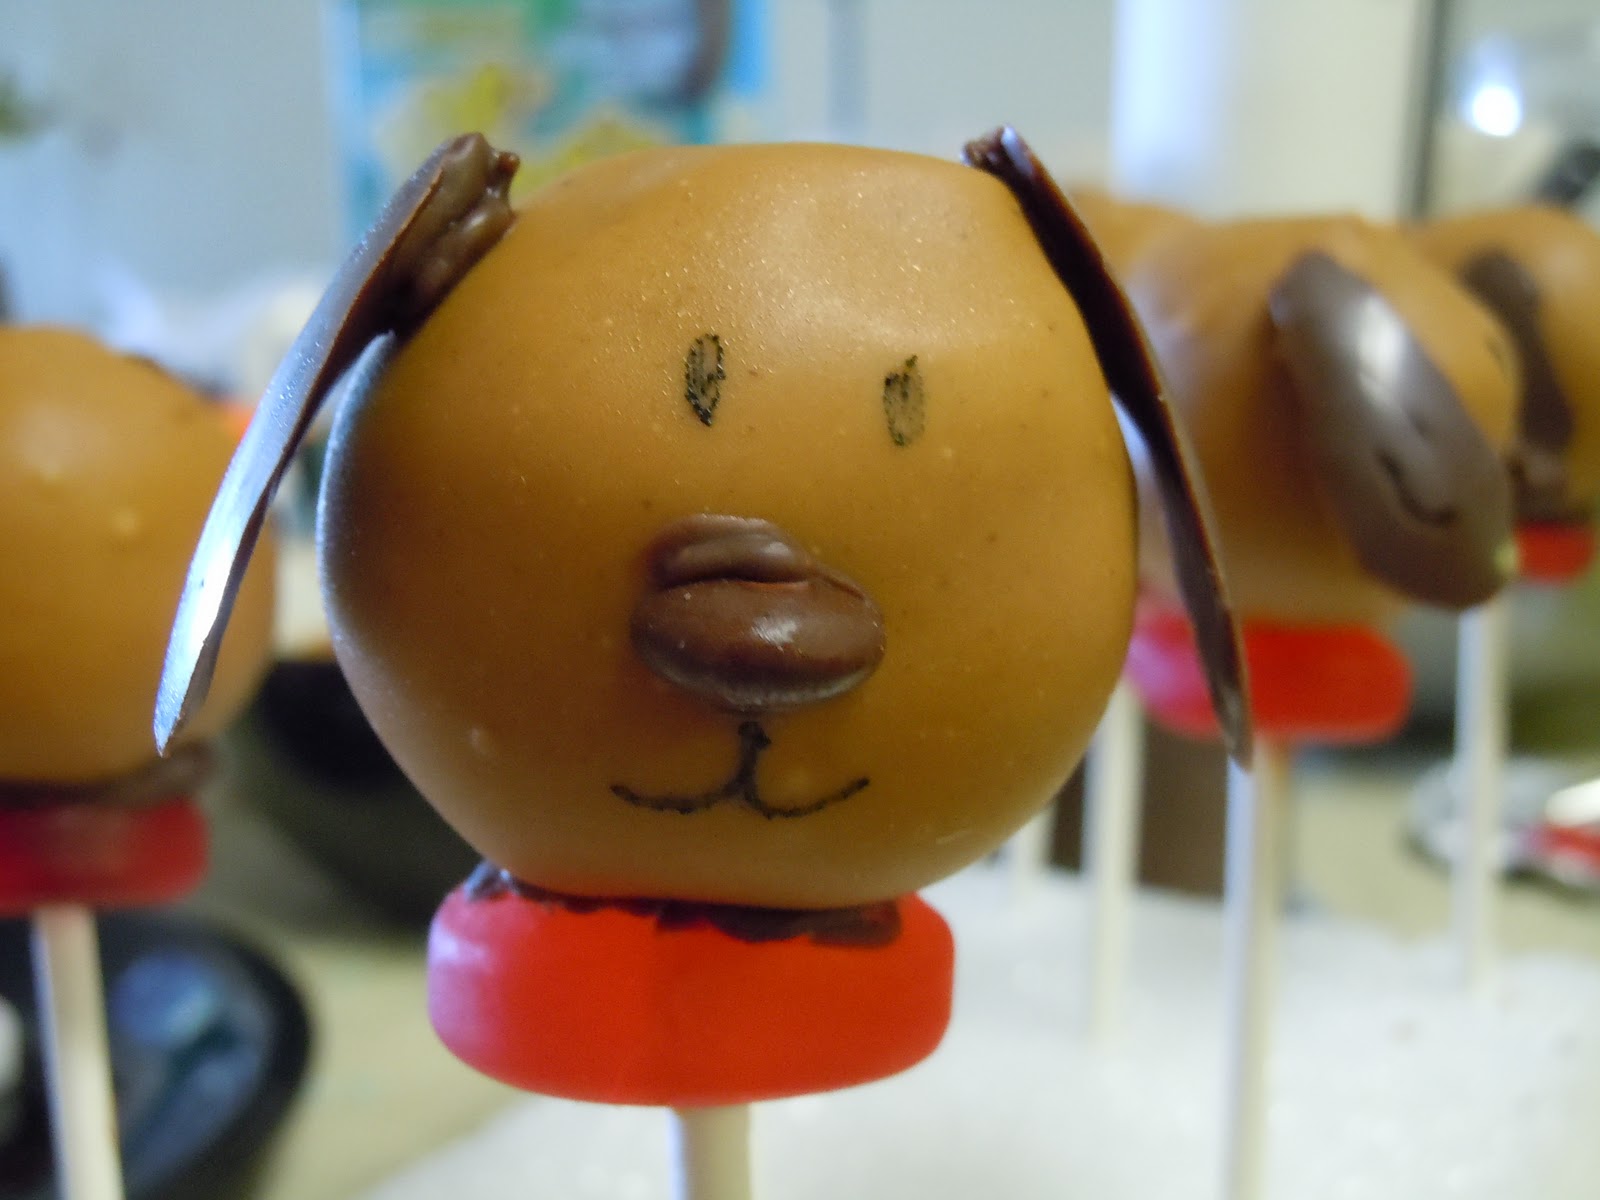
Well, with the leftover cake scraps, I made some adorable puppy cake pops!
I mixed the cookies & cream cake crumbs with about 1/4 of a canister of store-bought cream cheese frosting (I have no idea why, but store-bought seems to do a better job of holding them together). I rolled them into quarter-size balls. I dipped the lollipop sticks in candy coating before sticking them into the cake balls so that the cake wouldn't fall off the sticks.
Once you have your cake pops, here's how you make your puppies:
Puppy Cake Pops
Adapted from Cake Pops
Ingredients:
Peanut butter candy melts
Chocolate candy melts
Candy writers
Mini M&Ms
Lifesavers (I used the gummi ones, because I didn't want the toddlers to choke on the hard ones)
Tools
Edible ink pen
Sharpie
Clear plastic spoons
Squeeze bottle
Styrofoam block
Dip the cake pops in melted peanut butter candy coating - dunk straight down, lift staight up, and allow the coating to drip back into the bowl. Stick the pop into the styrofoam block to dry.
To make the ears:
-Draw an elongated tear drop with a Sharpie on the back of the clear plastic spoon.
-Flip spoon over. On the inside of the spoon, trace and fill in the tear drop with either the candy writer of a squeeze bottle filled with melted chocolate candy coating.
- Place in the freezer a few minutes to set
- Remove and pop the ears off the spoon and store in a dry place until ready to use
To make the nose:
- Cut a brown mini M&M in half
OR
- Use a candy writer to draw a nose on wax paper. Let dry and set aside until ready to use.
To assemble:
- Use the candy writer or melted chocolate coating as glue to attach the pieces to the pops.
- Place a drop of chocolate on the back of the pre-made nose and attach to the pop.
- Use the edible ink pen to draw the eyes and mouth
- Use glue method to attach the ears and the Lifesaver collars.
- Allow the pops to dry before serving.
Advice from Alli:
- I actually had a very difficult time with the squeeze bottle method - the candy kept solidifying after a couple minutes in the bottle, blocking off the opening. I would recommend trying the candy writers. Try to make the ears thick - mine were too thin, which made it difficult to "glue" them to the pops.
- Do not refrigerate the pops before assembling and decorating. The chocolate "glue" would harden before I got the chance to add the appendages. Furthermore, the condensation on the pops made it hard to draw the eyes and mouth.
- If it's a warm day and you need to transport them somewhere, try putting them in a cooler. The day of the party was very sunny, and the ears and collars ended up melting off the puppies on the way!
No comments:
Post a Comment